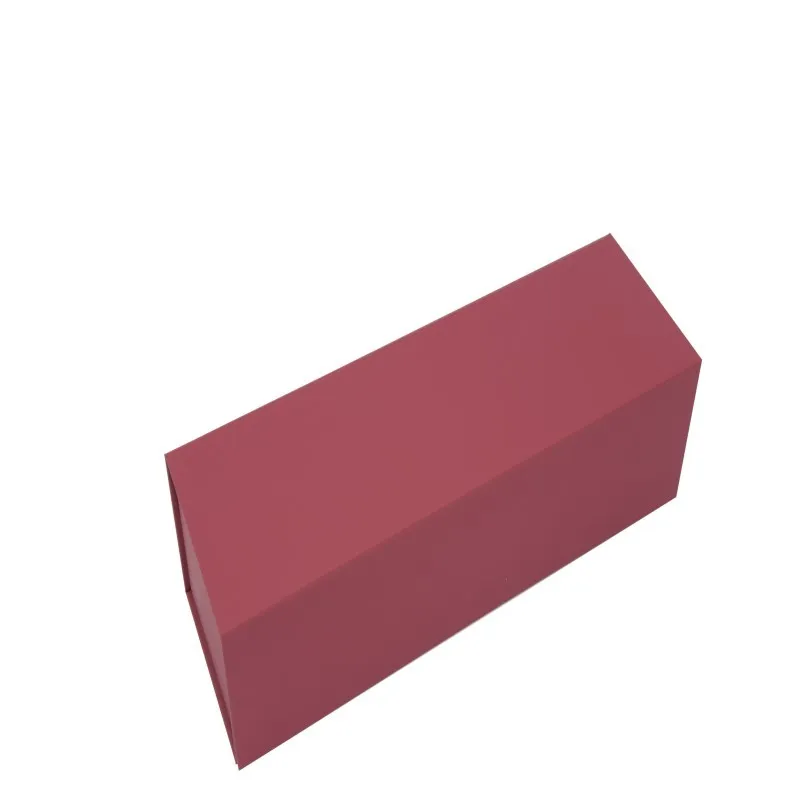
How to repair a damaged red wine box?
Jan 07, 2026
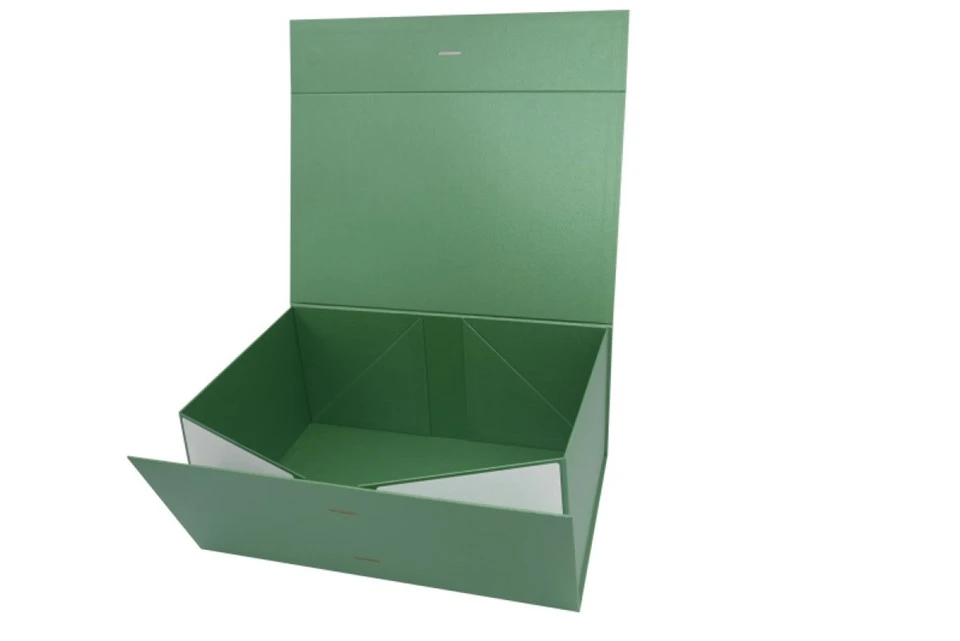
Hey there! As a supplier of Red Wine Box, I've seen my fair share of damaged wine boxes. It's always a bummer when a box gets messed up, whether it's during shipping, storage, or just regular handling. But don't worry, because in this blog post, I'm gonna walk you through the steps on how to repair a damaged red wine box.
Step 1: Assess the Damage
The first thing you gotta do is take a good look at the box and figure out what's wrong with it. Is it a small tear, a big hole, or maybe the corners are all bent out of shape? Knowing the extent of the damage will help you decide what kind of repair method to use.
If it's just a minor tear, you might be able to fix it with some tape. But if there's a big hole or the box is severely damaged, you'll probably need to use more advanced techniques.
Step 2: Gather Your Materials
Once you know what you're dealing with, it's time to gather the materials you'll need for the repair. Here are some common items you might want to have on hand:
- Tape: Duct tape, packing tape, or even clear tape can be used to fix small tears and holes.
- Glue: Wood glue, craft glue, or hot glue can be used to reattach loose parts or reinforce the box.
- Scissors or a utility knife: You'll need these to cut the tape, glue, or any other materials you're using.
- Cardboard or paper: If you need to patch a hole, you can use a piece of cardboard or paper that's the same color and thickness as the box.
- Sandpaper: If the box has rough edges or splinters, you can use sandpaper to smooth them out.
Step 3: Fix Small Tears and Holes
If the damage is just a small tear or hole, the easiest way to fix it is with tape. Here's how:
- Clean the area around the tear or hole with a damp cloth to remove any dirt or debris.
- Cut a piece of tape that's slightly larger than the tear or hole.
- Place the tape over the tear or hole and press it down firmly.
- Smooth out any bubbles or wrinkles in the tape.
If the tear or hole is in a visible area, you can use clear tape to make the repair less noticeable. Or, if you want to be more creative, you can use colored tape or decorative tape to add a personal touch.
Step 4: Repair Loose Parts
If the box has loose parts, such as a lid or a corner, you can use glue to reattach them. Here's how:
- Apply a small amount of glue to the area where the part was attached.
- Press the part back into place and hold it there for a few seconds until the glue dries.
- If necessary, use a clamp or a piece of tape to hold the part in place while the glue dries.
Be careful not to use too much glue, as this can make the repair look messy and may cause the box to warp.
Step 5: Patch Larger Holes
If the damage is a larger hole, you'll need to patch it with a piece of cardboard or paper. Here's how:
- Cut a piece of cardboard or paper that's slightly larger than the hole.
- Apply a thin layer of glue to the back of the cardboard or paper.
- Place the cardboard or paper over the hole and press it down firmly.
- Use a piece of tape to secure the edges of the patch.
- Let the glue dry completely before using the box.
If the hole is in a visible area, you can use a piece of cardboard or paper that's the same color and thickness as the box to make the repair less noticeable.
Step 6: Reinforce the Box
If the box is weak or damaged in multiple places, you may want to reinforce it to make it stronger. Here are some ways you can do this:
- Add corner protectors: You can buy corner protectors at a hardware store or make your own using cardboard or paper. Simply cut a piece of cardboard or paper into a triangle and fold it over the corner of the box.
- Use a cardboard sleeve: If the box is particularly weak, you can place it inside a cardboard sleeve to add extra support.
- Reinforce the edges: You can use tape or glue to reinforce the edges of the box, especially if they're starting to fray or come apart.
Step 7: Finish the Repair
Once you've made all the necessary repairs, it's time to finish the job. Here are some things you can do to make the box look good as new:
- Sand the edges: If the box has rough edges or splinters, use sandpaper to smooth them out.
- Paint or stain the box: If you want to give the box a new look, you can paint or stain it to match your decor.
- Add a label or tag: If you're using the box to store or transport wine, you can add a label or tag to identify the contents.
Step 8: Prevent Future Damage
Now that you've repaired the box, you want to make sure it doesn't get damaged again. Here are some tips to help you prevent future damage:
- Handle the box with care: When moving or storing the box, be careful not to drop it or put too much pressure on it.
- Use proper packaging materials: If you're shipping the box, use proper packaging materials such as bubble wrap, packing peanuts, or foam inserts to protect it.
- Store the box in a dry place: Moisture can cause the box to warp or break down over time, so make sure to store it in a dry place.
Well, there you have it! That's how you can repair a damaged red wine box. I hope these tips and tricks have been helpful. If you have any questions or need more advice, feel free to leave a comment below.
And if you're in the market for a new Red Wine Box, Folding Candy Box with Bow, or Macaron Food Box, be sure to check out our website. We offer a wide variety of high-quality food boxes at affordable prices. Contact us today to start a procurement negotiation, and let's work together to find the perfect solution for your needs!
References
- "How to Repair a Cardboard Box." eHow.
- "Repairing Damaged Packaging." Packaging World.
- "Tips for Maintaining and Repairing Wine Boxes." Wine Enthusiast.